Base R installation (Windows)
In this guide I’m going to show you how to install R (base) for Windows. By installing R and learning how to program in RStudio you will start upon a magical journey that might just yet surprise you.
What is R?
R is an open-source software environment for statistical computing and graphics that runs on Windows, Mac OS, and many UNIX platforms. With the base installation of R you are able to interact with the R language through the Command Line Interface (CLI).
If you want a dedicated Graphical User Interface (GUI) specifically designed for R you can’t miss RStudio, which is an Integrated Developer Environment (IDE). I highly recommend using RStudio to work with R. You can use this guide for the installation of RStudio.
Download R
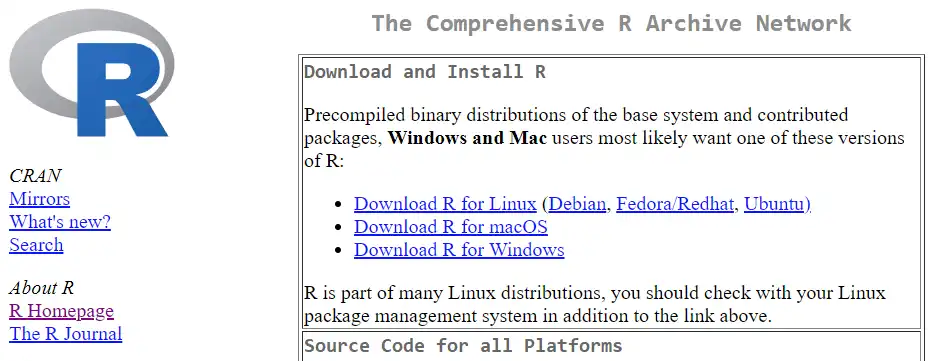
- Navigate to the official R website and at the very top you will see multiple links that will take you to the official RStudio Comprehensive R Archive Network (CRAN) mirror list.

You can also go to the CRAN mirror list directly. Select the mirror that is closest to your geographical location and you will be taken to the specified download mirror.
- Select Download R for Windows which is the third option from the top.
- Select the first option base from the list.

- Select the Download R X.X.X for Windows option (right now the version number is 4.2.1). Either run the program directly or remember the download location on your local machine to run the installer.

Install R
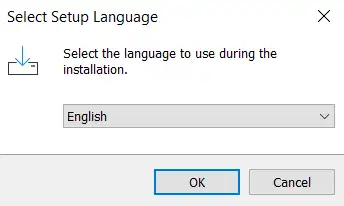
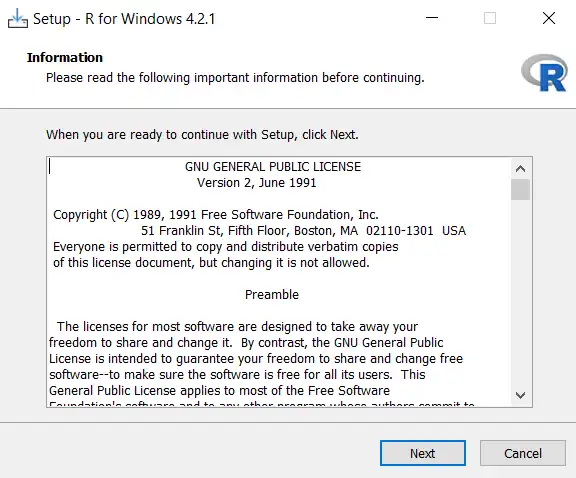
- Run the installation file and continue with the next two steps (language and license terms). Press OK and Next respectively.
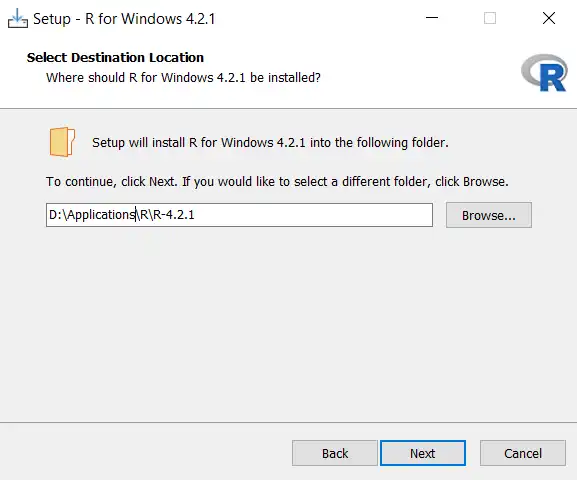
- Select your preferred download location for R. In this example I used a custom directory (I like to refrain from installing too much stuff on my C drive). Click Next.
- Select the components you wish to install. In my case i select 64-bit since I have a 64-bit system (32-bit will be another option for you if you run such a build). Message translations are not required. Click Next.
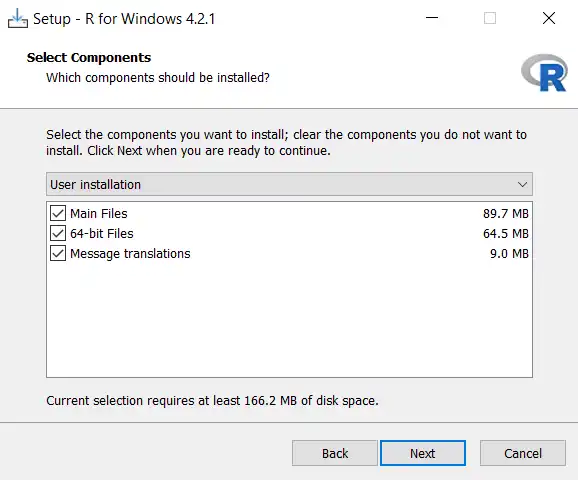
-
On the next step, select
No (accept defaults). This is the default option. Press Next. -
Decide if you want to create a shortcut in your Start Menu folder. I personally never do this myself and advice against it. Also decide if you want to create desktop/quick launch icons and if you want to register the R version number and associate
.RDatafiles with R. If you are planning to use RStudio, uncheck the first two tickboxes relating to shortcuts. Press Next.
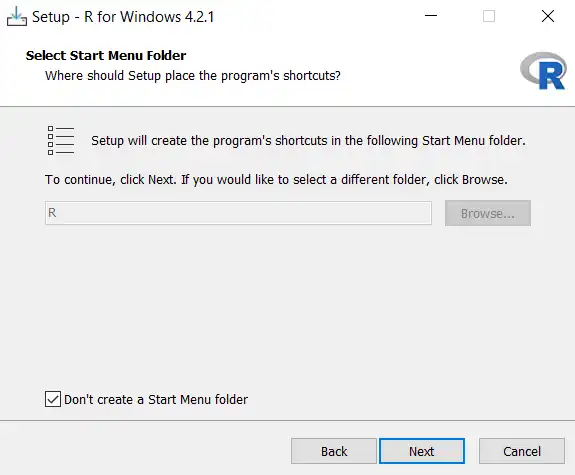
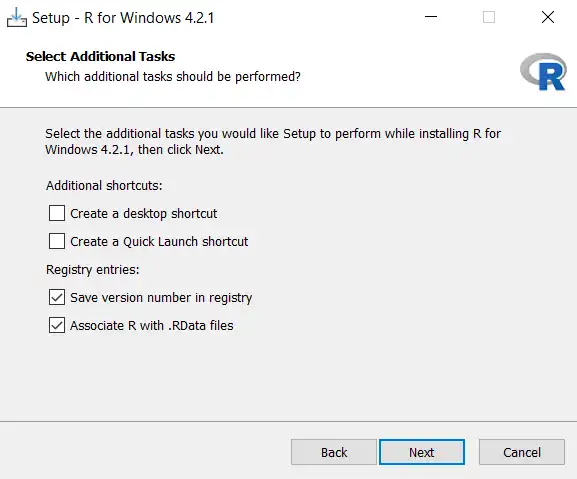
- At this point R will be installed on your system. After the installation is complete, press Finish.
If you are learning how to use the command line interface (CLI), you can also install R via a package manager (such as Homebrew) for UNIX systems. This will be a topic for another blogpost but I can guarantee that learning how to use the CLI will make your life a lot easier.
Continue with the RStudio installation (Windows)
Now that you have base R installed, it is time to install the integrated development environment (IDE) called RStudio. R and RStudio go hand-in-hand and RStudio is software specifically designed to work with the R computing language and makes working in R a breeze.