RStudio installation & configuration (Windows)
In this guide I’m going to show you how to install and set-up your RStudio Integrated Developer Environment (IDE) for Windows.
We’re going to cover:
- What RStudio actually is (brief)
- Installing RStudio (the preferred IDE for R)
- Configuration and setting up RStudio
Note: As a prerequisite, you need R itself before you can use RStudio. Installing R (the software environment and language itself that enables you to perform statistical computing and make insanely beautiful graphics) can be done by following this guide for base R installation
What is RStudio?
RStudio is an open-source software project and computer program that allows you to interact with the R computing language that you’ve previously installed on your system. RStudio provides you with a Graphical User Interface (GUI) that serves as a front-end which literally lies on top of R. RStudio is thus an IDE specifically for R.
The RStudio environment makes it easy for you to manage your projects and you will have everything that you need right at your fingertips. For instance, the GUI provides you with many of the well-known graphical elements such as navigation, menu items, preferences, file explorers etc. In RStudio, you will be able to easily manage your workflow in so-called R-projects (a collection of R files).
For me it is most important that my work is reproducable. With R & RStudio (and other languages) I can easily refresh that specific script containing an important analysis and I’m able to run that exact same analysis whenever I want. I can even plan the running of a script via Windows Task Manager to run daily. Write once and maintain, profit forever.
RStudio can be learned by anyone. It’s layout (default) is made up out of four different panels and rather intuitive. On the top left we have a source code editor packed with features (including syntax highlighting). On the top right we got the environment pane, which tells you what information you have currently stored in R in various objects. On the bottom left you will have the R console or terminal respectively. And on the bottom right you will find the explorer, help window, plot window and much more. Note that you can tweak your panel layout with ease.
Download RStudio
- Navigate to the official Rstudio website and scroll down to the big download button as shown below.
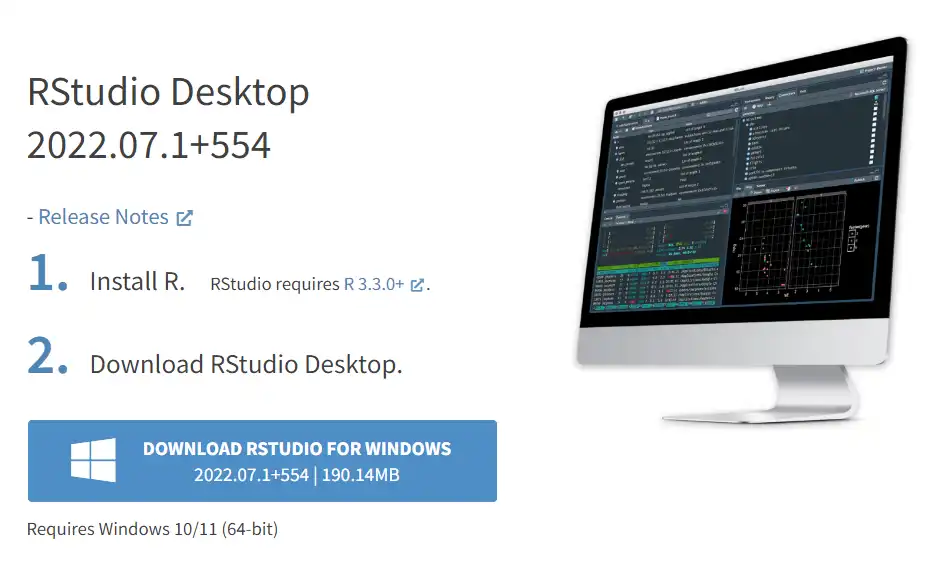
NOTE: RStudio requires a 64-bit operating system. If you are on a 32 bit system, you can use an older version of RStudio.
Optional: check SHA256 checksum
With this you verify the content of your downloaded installer file. Checking this is considered best practice and specifically usefull if you run in to problems during installation. With this you are sure that your file is not somehow corrupted or tampered with.
- Verify your download to make sure it is not corrupted. Press the windows logo + Q and search for
cmd.exe. This opens up the CLI (Command Prompt in this case) and do the following:- type “sha256sum “ (dont forget the space!)
- drag the file into the Command Prompt window and it will copy the path to your installation file to the CLI.
- Note that the output is an alphanumerical string that you can compare with what is found on the RStudio download page.
- If even 1 letter or number changes anywhere in the downloaded installer file, you have downloaded a corrupt installer and the sha256sum output will not match. In fact, it will be totally different.


Install RStudio
-
Click Next on the first prompt.
-
Select your destination folder and click Next.

- Decide if you want shortcuts. I don’t like shortcuts and I would add RStudio via the search function (Windows key + Q) and pin it to the taskbar.

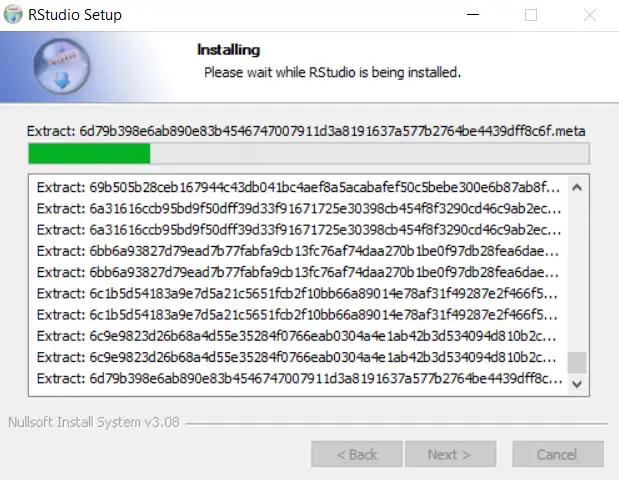
- Installation will begin and afterwards you can click Finish
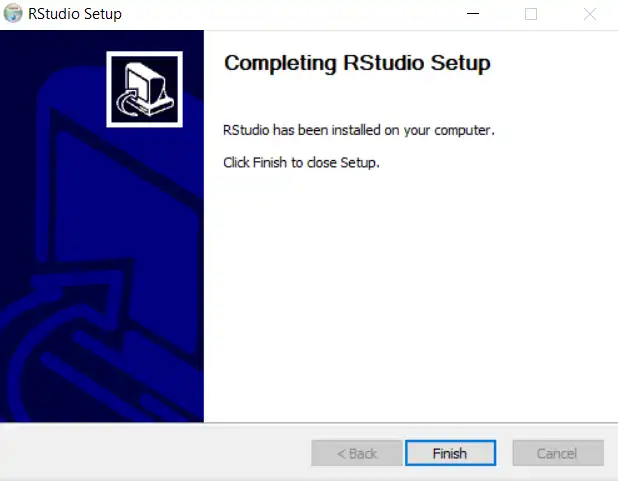
- Congratulations, you have succesfully installed RStudio!

- You now have access to base R and RStudio to work with base R. You can think of base R as the foundation layer with which you can perform certian compuations. The R community has added vasts amounts of functionality in the form of so-called packages that you can install at will and that will add to the base R functionality.
At this point you can start experimenting with some of the datasets that come with RStudio in order to learn more about how it works. But first, lets configure RStudio.
Configuring RStudio
-
Open up RStudio, select the Tools menu and go into the Global Options submenu. You should land in the General tab.
-
Depending on your installation, the R version should read “[Default][XX-bit]” followed by the path to the R program (as shown in the dialog box below). You can change to the other version (32-bit in my case) if required.
-
You can either leave the other selections at their defaults but I strongly urge you to deselect “Restore .RData into workspace at startup” and make sure “Save workspace to .RData on exit:” is set to “Never.” This will force you to always save your work and check if you’ve saved correctly. In short, it will make sure you develop good habits right from the start!
-

-
Select the Code tab. In addition to the default selections, I would personally also check “Highlight selected line,” “Show margin,” and “Show syntax highlighting in console input.”.
-
Select the Packages tab. It can be usefull to set a CRAN mirror (from where you will download additional R packages) in this tab.
-
Select the Appearance tab. Play around with the different editor themes to see which one you like, you can always change this back. I recommend choosing a
source codefont as these are best for coding (all characters have equal width which is easy on the eyes and allows for easy reading). -
Select the Terminal tab. Make sure the initial directory is set to “Project directory” and you can set your preferred terminal here.
-
For basic users that are just beginning with R and RStudio or programming in general, no other options are required for now. Press OK.
